

Start this project with a long nature walk to search for the
perfect branch! Your branch should have
lots of little branches and look like a miniature tree. The stick I used is about 18 inches tall, but
it can be what ever size you like. A
dead branch is best for this project since the wood is already dry and the tree
it came from no longer needs it.


You will need:
A branch
A small tray or soap dish
Plaster of Paris
Paper wrapped wire (4-6 yards)
Wire Clippers
A wooden ring (the lid from a soda bottle would also work)
Gold acrylic paint and a brush OR spray paint
Hot glue gun

To remove any moisture from my branch (and any unseen critters living inside) I put it in my oven at 200 degrees for ten minutes. Using your wire clippers, trim about ½ inch of bark from the base of your branch. Glue the base into the wooden ring or soda cap. Removing bark will allow the glue to form a strong bond. The ring will give your jewelry tree extra support and prevent the plaster from crumbling around the base.

Decide where the branch should be “rooted” in the tray. If the branch leans to one side, consider having it rooted slightly to the left or right rather than in the center of the tray. When you are happy with the placement, hot glue the base of your branch to the tray. If your tray is made of plastic or has a shiny coating, use sandpaper to add texture to the surface. This will help the plaster and paint to stick.
Follow directions on the box to make the plaster. For easy clean up, I made plaster in a
plastic bag and mixed it by squishing the bag with my hands. After pouring the plaster into the tray I
tossed the bag in the trash.


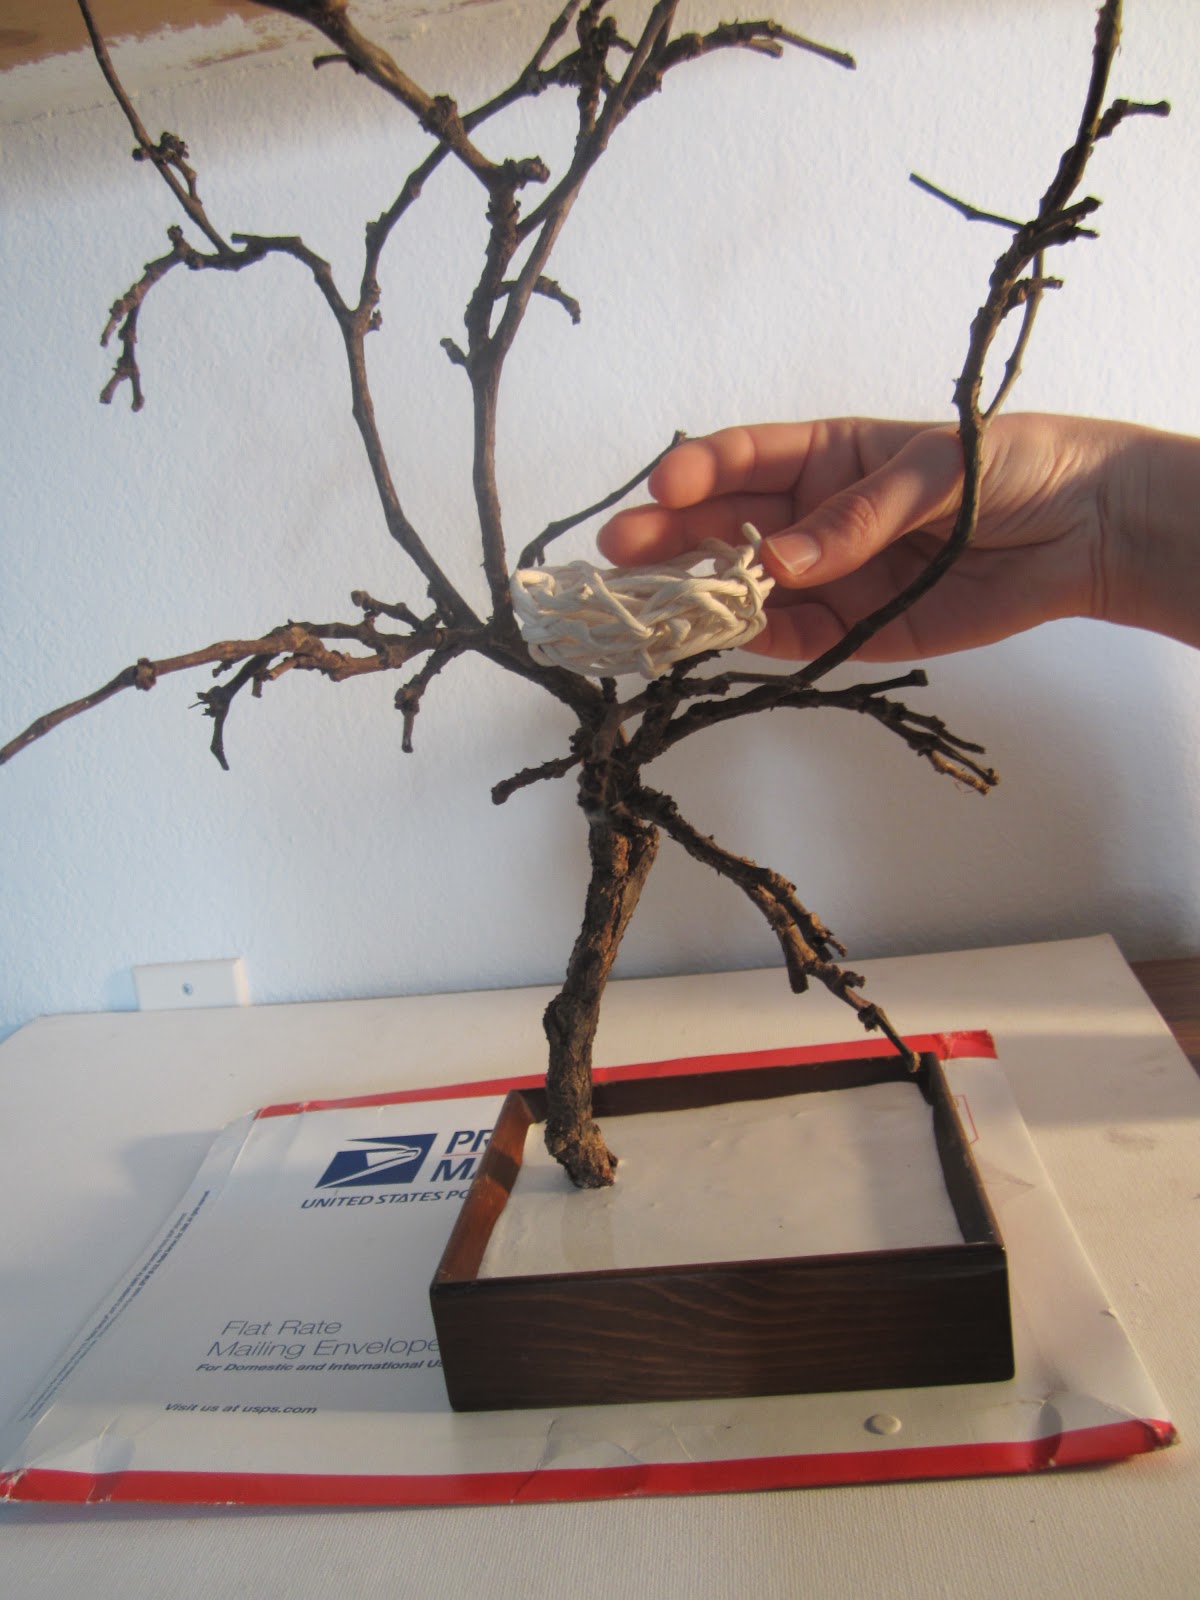
While the plaster hardens, make your nest. Cut the paper wrapped wire into sections (about twelve inches long) and twist into a bird nest shape. Start by bending and wrapping the wire into a 1 ½ inch flat circular shape for the bottom of the nest, adding sections as you need to. No pattern is necessary: with irregular twisting and wrapping, the nest you create will look organic and natural.


Spray paint is the fastest and most efficient way to add color, but you will most likely need several coats. If you use acrylic, I recommend starting at the middle of the tree and working your way out. This way, you can avoid paint covered branches catching your sleeves as you paint. You could also add clear coat for extra shine. Once the paint is dry, your tree is finished!
Because the tree is made from delicate wood, avoid hanging very heavy objects from its branches.


This tutorial was featured on totallytutorials.blogspot.com!

That is sooo cute! I want to do it too! Do you do Pinterest? I've done a bunch of stuff I've found on there. Love your blog!
ReplyDeleteI do have a Pinterest, and I love it! So many great ideas!
Deletelol, I totally pined this and then read the above comment! I think I will make this for my mom!
ReplyDeleteExcellent idea! Thanks for sharing. Kisses from Venezuela
ReplyDeleteOMGosh, this is soooooo beautiful :) Thanks for the inspiration!
ReplyDeleteFantastyczny pomysł!
ReplyDeletePozdrawiam cieplutko z Polski =}
http://moja-koniczynka.blogspot.com/
I suddenly have to strange urge to go for a walk now.
ReplyDeletevery attractive design
ReplyDeletebeautiful diamonds color